![[Warpspeed]](/home.gif)
![[Warpspeed]](/home.gif)
DiskImg is a tool which allows you to image logical and physical disks. Disk to disk, disk to file and file to disk copies may be performed.

Usage: DiskImg { Switches } <Drive Spec> File Name
Note : Drive Spec is A: to Z: for logical disks
Drive Spec is 1: to 9: for physical disks
File Name is optional, if not specified the console is used
DiskImg can be called with no parameters. In this case, DiskImg goes into its interactive mode.
DiskImg is a tool which enables you to image disks. A disk to disk copy can be performed, as can a disk to file as well as a file to disk copy. Both logical and physical disks can be handled. Although DiskImg can be totally command line driven though the use of switches, its default mode of operation is interactive, using a simple menu interface.
The initial menu with which you are presented is this:

You have a choice of either Physical (0:, 1: etc) or Logical (A:, B: etc) disk functions. Choose the required one, and you will be presented with either of these two menus:

for the physical disk menu, and

for the logical disk menu.
For disk to disk copy to copy modes, you will be presented with a menu similar to this. The up and down arrow keys are used to select the appropriate drives. The tab key is used to switch between each set. Esc will abort, and the Enter key will accept the choices.
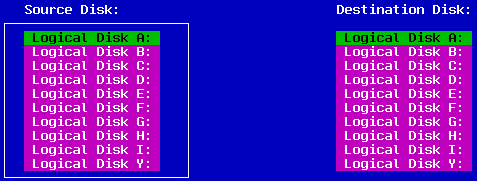
You will only see the above menu if there are multiple disks. If there is only one disk, you will see this:

You will see a similar dialog box when there is only one logical disk.
The copy will proceed if both disks can be locked for exclusive access.
If you wish to transport the disk, or delay the imaging process then you can use the Disk to file imaging modes. Here, you will be presented with a similar menu to the following:
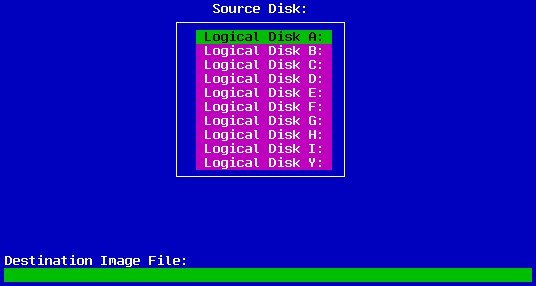
Select the disk to image, and enter a filename. The disk will be imaged to that file. If no filename is entered, you will be reminded with this dialog box:

If the file already exists, you will be prompted with this dialog box:

Press the Y key to overwrite the existing file, or any other key to abort the process.
Once all of these tests have been passed, and the disk is locked, the copy can proceed. As it proceeds, you will be informed as to its progress via this dialog box:

To create a previously saved image, the file to disk modes can be used. In this instance, you will be presented with a dialog box similar to this:
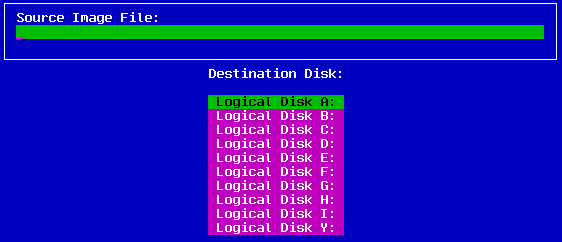
Enter the appropriate values and press enter. If everything is correct, the copy will proceed as described above.
This switch forces DiskImg to read from the specified disk (specified on the command line) and the output is written to the console. This allows the output to be redirected to a file or piped to another process.
This switch stops DiskImg from displaying any windows or other screen output.
This switch forces DiskImg to read its input from the console and write to the specified disk (specified on the command line). This allows a file to be redirected into, or piped from another process into DiskImg.
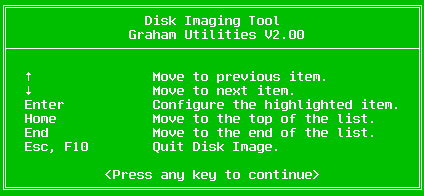
Whilst DiskImg displays "Press F1 for help" in the lower right hand corner of the window, help is available. Depending on which menu you are displaying, it will look similar to this:
DiskImgDiskImg will be started in its default interactive mode.
DiskImg -r C: OUTDiskImg will read drive C: and it will be redirected to the file OUT.
DiskImg -r F: | gzip drive-f.gzDrive F: will be read and the output will be piped into the GZIP program, which will compress the data into the file DRIVE-F.GZ.
gunzip drive-f.gz | DiskImg -w F:Gunzip will decompress the file drive-f.gz on the fly (ie without creating an uncompressed intermediate file) and DiskImg will write it to drive F: